
Learn How to Create a Stunning Github Testimonial Card UI with HTML and Tailwind CSS in Just 5 Minutes - Tutorial 2023
March 27, 2023
PouyaSadri
Are you tired of boring website designs? Want to add a touch of sophistication and professionalism to your website without spending hours coding? Look no further! In this tutorial, we'll show you how to create a stunning Github testimonial card UI in just 5 minutes using HTML and Tailwind CSS. With our step-by-step guide, you'll be able to elevate your website's appearance and impress your visitors with ease. Don't miss out on this easy and effective web design hack - check out our tutorial now!
Tutorial
Tailwind CSS
HTML
In today's fast-paced world, websites need to be visually appealing and easy to navigate to capture visitors' attention. One way to achieve this is by using stunning design elements such as testimonial cards. Testimonial cards are a great way to showcase customer feedback or user reviews on your website. They provide social proof, build trust, and ultimately help to increase conversions.
In this tutorial, we'll show you how to create an impressive Github testimonial card UI using HTML and Tailwind CSS in just 5 minutes. With Tailwind CSS, you can easily style your website without having to write lengthy CSS code. It's a fantastic tool that makes web development more efficient and enjoyable.
So, whether you're a beginner or an experienced developer, this tutorial is perfect for you. You'll learn how to create a sleek and professional-looking testimonial card that will help to enhance your website's overall appearance. So, let's dive in and start creating!
Check out this step-by-step tutorial video on YouTube to learn how to create an impressive Github testimonial card UI using HTML and Tailwind CSS in just 5 minutes. This tutorial is perfect for both beginners and experienced developers, and will guide you through the process of creating a sleek and professional-looking testimonial card that will elevate your website's overall appearance. So, don't miss out on this fantastic opportunity - head over to YouTube and start watching now!
Lets Begin
step 1:
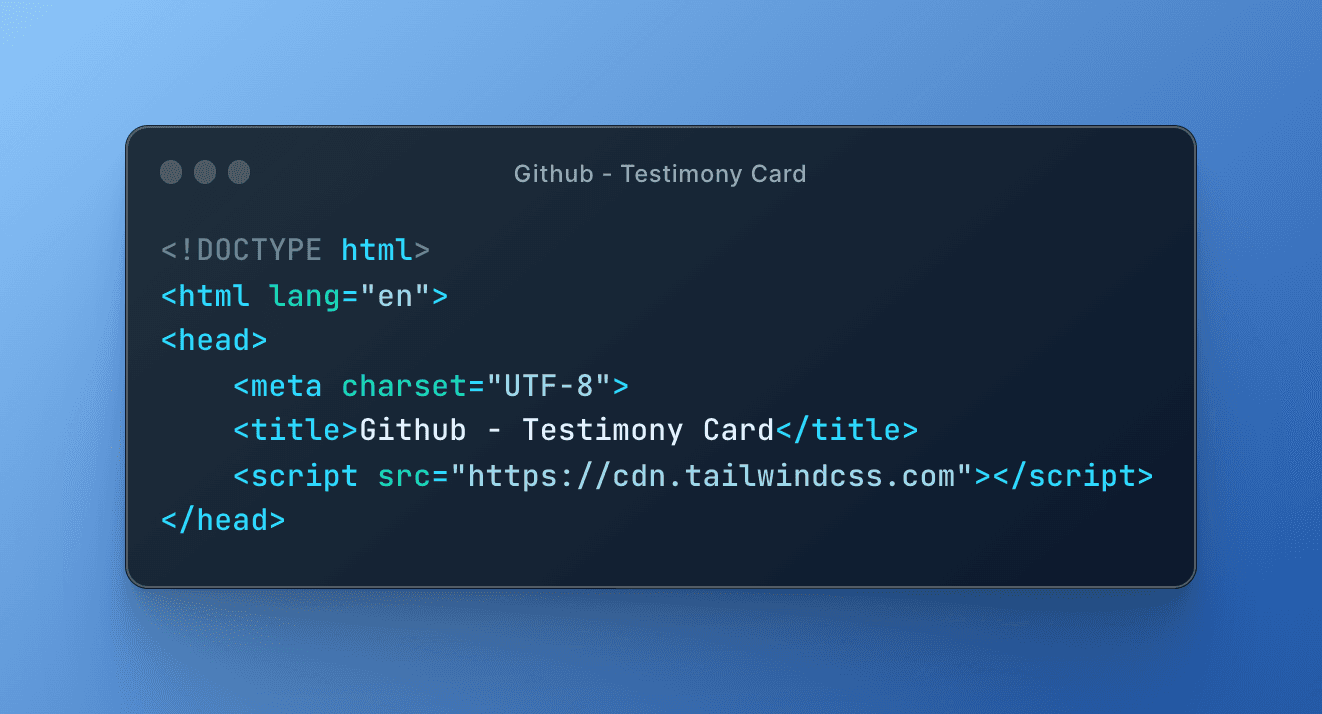
The HTML code shown above is the beginning of our tutorial on how to create a Github testimonial card UI using HTML and Tailwind CSS. Here, we start by declaring the document type as HTML and specifying the language as English.
Next, we define the head section of our HTML document where we add a meta tag that specifies the character encoding of the document to be UTF-8. This ensures that special characters are properly displayed on the webpage.
We also add a title tag to specify the title of the webpage. In this case, we've named it "Github - Testimony Card" to give users an idea of what the webpage is all about.
Finally, we include a script tag to add the Tailwind CSS library to our HTML document. This library provides us with a set of pre-defined CSS classes that we can use to style our webpage without writing a lot of custom CSS code. With Tailwind CSS, we can easily add style and beauty to our webpage without spending too much time writing complex CSS rules.
step 2:
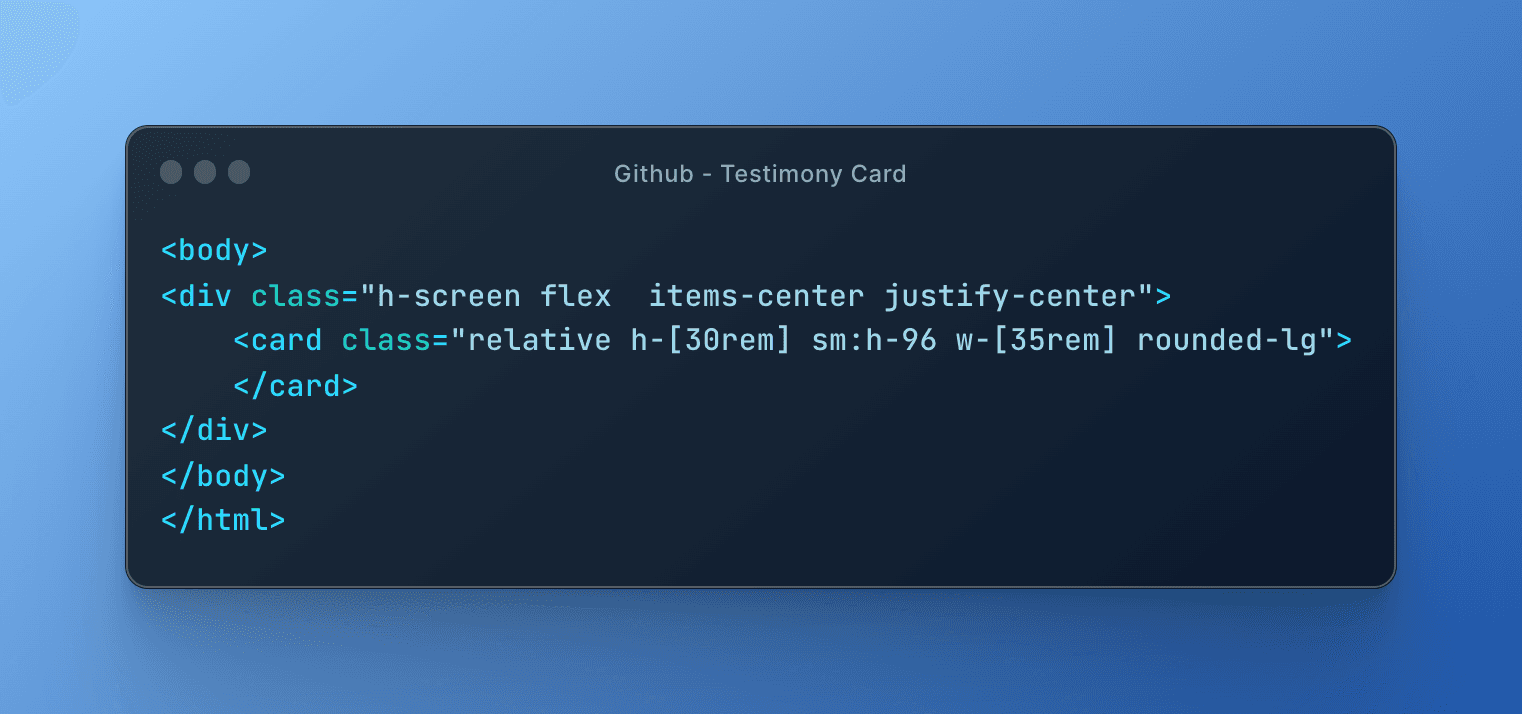
Here, we've defined the body section of our HTML document, where we create a container for our testimonial card UI.
Inside the body section, we've defined a div tag with the class "h-screen flex items-center justify-center". This class is used to center our card container both horizontally and vertically on the page, regardless of the size of the screen. This makes our testimonial card look good on all devices, from large desktop screens to smaller mobile screens.
Inside the div tag, we've created our card container using a card element with the class "relative h-[30rem] sm:h-96 w-[35rem] rounded-lg". This class defines the size and shape of our testimonial card. The "h-[30rem] sm:h-96" part of the class sets the height of the card to be 30rem on small screens and 96 pixels on larger screens. Similarly, the "w-[35rem]" sets the width of the card to be 35rem, which is roughly 560 pixels. Finally, the "rounded-lg" class rounds the corners of the card to give it a more polished and professional look.
Overall, this code is a critical part of our tutorial on creating a Github testimonial card UI using HTML and Tailwind CSS. With these HTML and CSS classes, we're able to create a beautiful and functional testimonial card that will enhance the appearance of any website.
step 3:
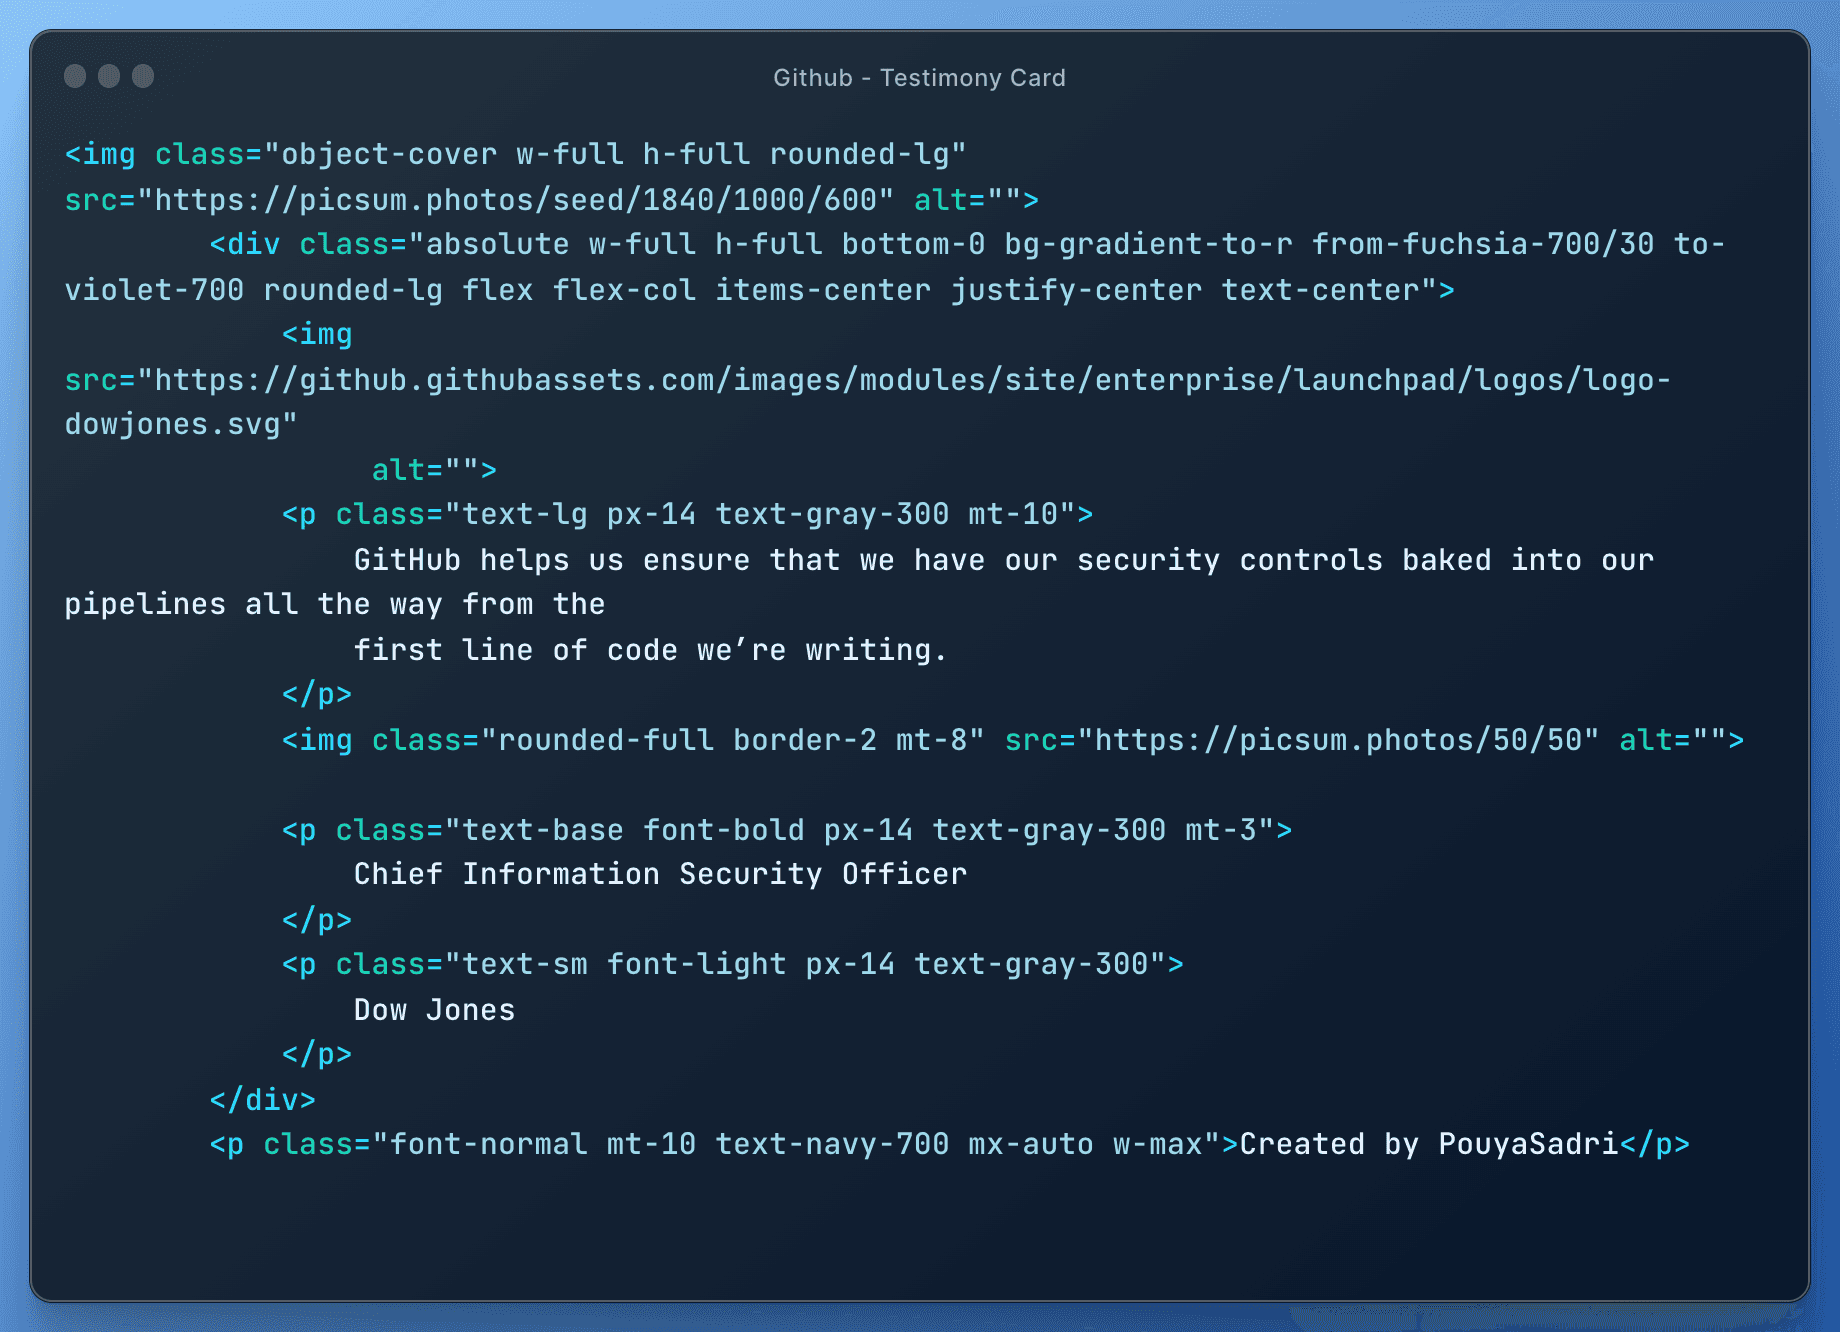
Here, we define the structure and content of the testimonial card.
First, we use an image tag with the class "object-cover w-full h-full rounded-lg" to set the background image for our card. In this case, we've used the "picsum.photos" API to generate a random image of size 1000x600 pixels.
Next, we use a div tag with the class "absolute w-full h-full bottom-0 bg-gradient-to-r from-fuchsia-700/30 to-violet-700 rounded-lg flex flex-col items-center justify-center text-center" to create a transparent overlay over our background image. This overlay contains the text and images that make up the testimonial.
Inside the div tag, we've included an image tag with the source pointing to the logo of Dow Jones. We've also added a paragraph tag with the class "text-lg px-14 text-gray-300 mt-10" to display the testimonial quote. Additionally, we've added an image tag with the class "rounded-full border-2 mt-8" to display the picture of the testimonial giver.
Finally, we've added two more paragraph tags with the classes "text-base font-bold px-14 text-gray-300 mt-3" and "text-sm font-light px-14 text-gray-300" to display the name and designation of the testimonial giver, respectively.
At the end of our code, we've also included a small line of text to give credit to the creator of this testimonial card. Overall, this HTML code, when combined with the appropriate CSS, creates a beautiful and functional Github testimonial card that can be easily incorporated into any website.
The end result of combining all the HTML and CSS code should be like:
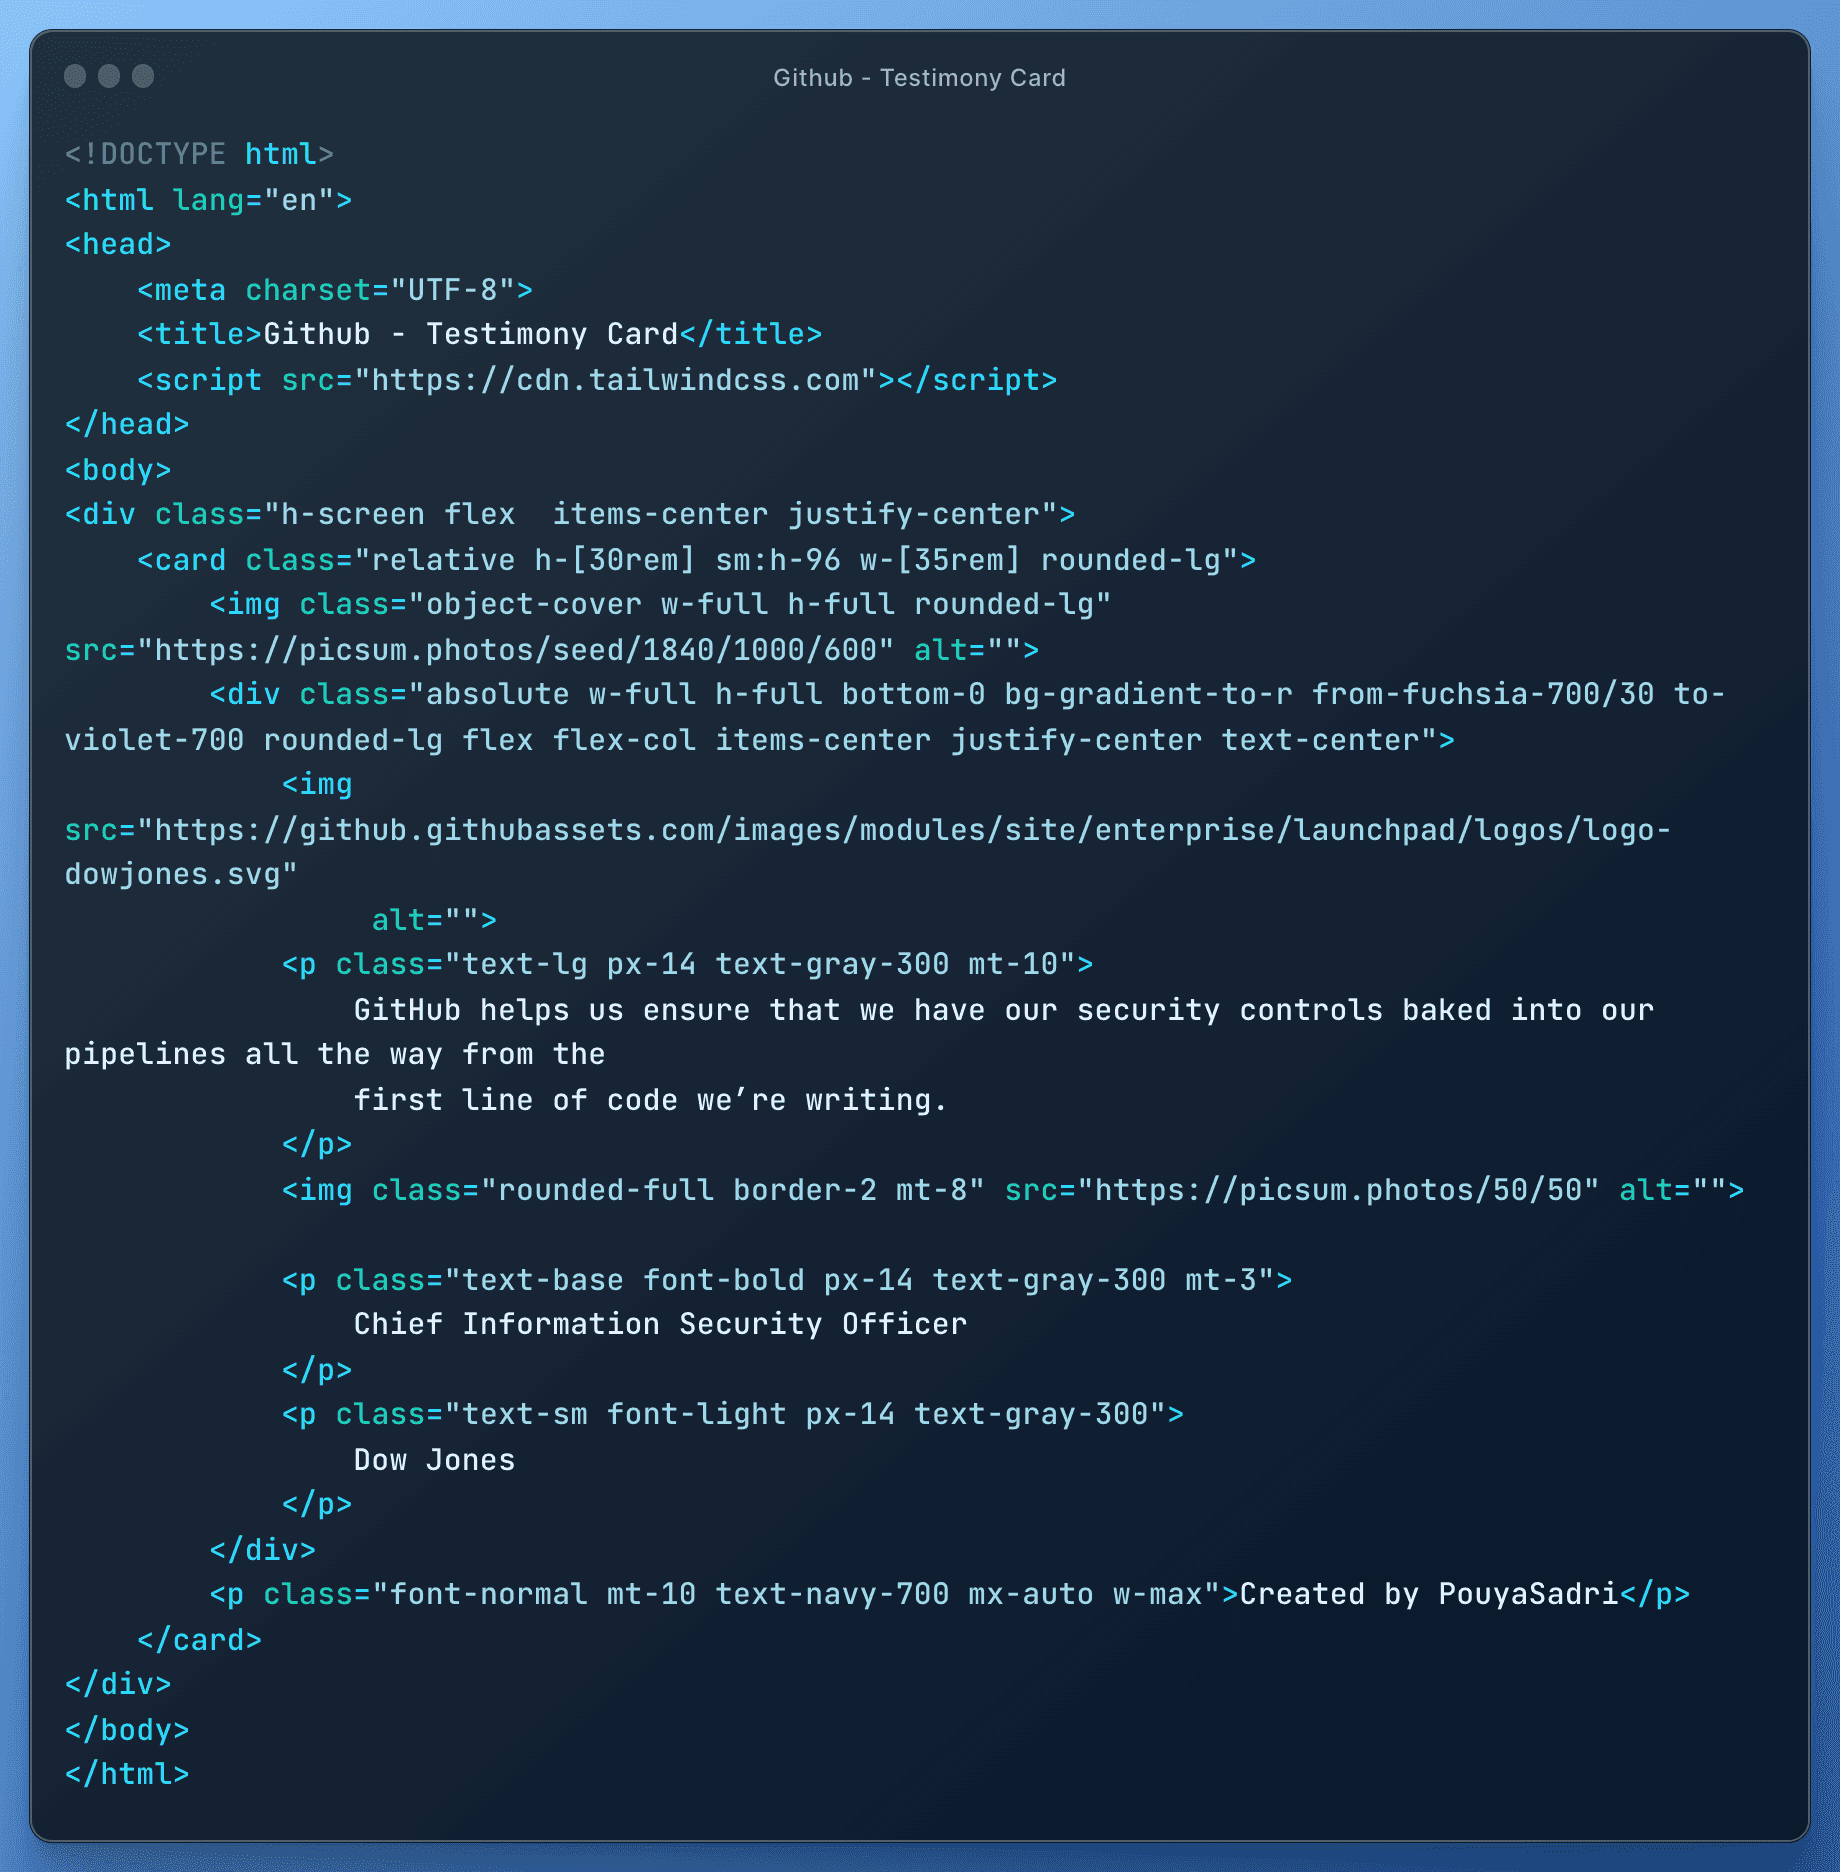
When all of the HTML and CSS code is combined, the final result will be a visually appealing and responsive Github testimonial card that can be easily integrated into any website.
Final result:
If you're searching for a web developer, my freelancing service offers a comprehensive package that includes both front-end and back-end development to deliver a complete and high-quality website that meets your unique requirements.