How to Add Gradients to Your SwiftUI App: A Step-by-Step Guide
March 13, 2023
PouyaSadri
Gradients can add a lot of visual interest to your SwiftUI app, but they can also be a little intimidating if you're not familiar with how they work. In this post, we'll walk you through the process of adding gradients to your SwiftUI app step-by-step. You'll learn how to create simple linear gradients, as well as more complex radial and angular gradients. By the end of this guide, you'll have the skills you need to take your app's design to the next level.
Tips
IOS app
Mobile app development
SwiftUI
see the tutorial on YouTube
SwiftUI offers a simple and effortless coding experience with its intuitive syntax. Moreover, the framework provides three gradient types:
Linear
Radial
Angular
that can be effortlessly applied to any view. This makes it incredibly easy to incorporate stunning gradients into your app's interface design.
To apply gradients in SwiftUI, you need to pass an array of colors to the gradient option. This feature allows for a smooth transition of colors that can add depth and visual appeal to your app's user interface. Whether you choose to use linear, radial, or angular gradients, SwiftUI makes it easy to create stunning color effects with just a few lines of code.
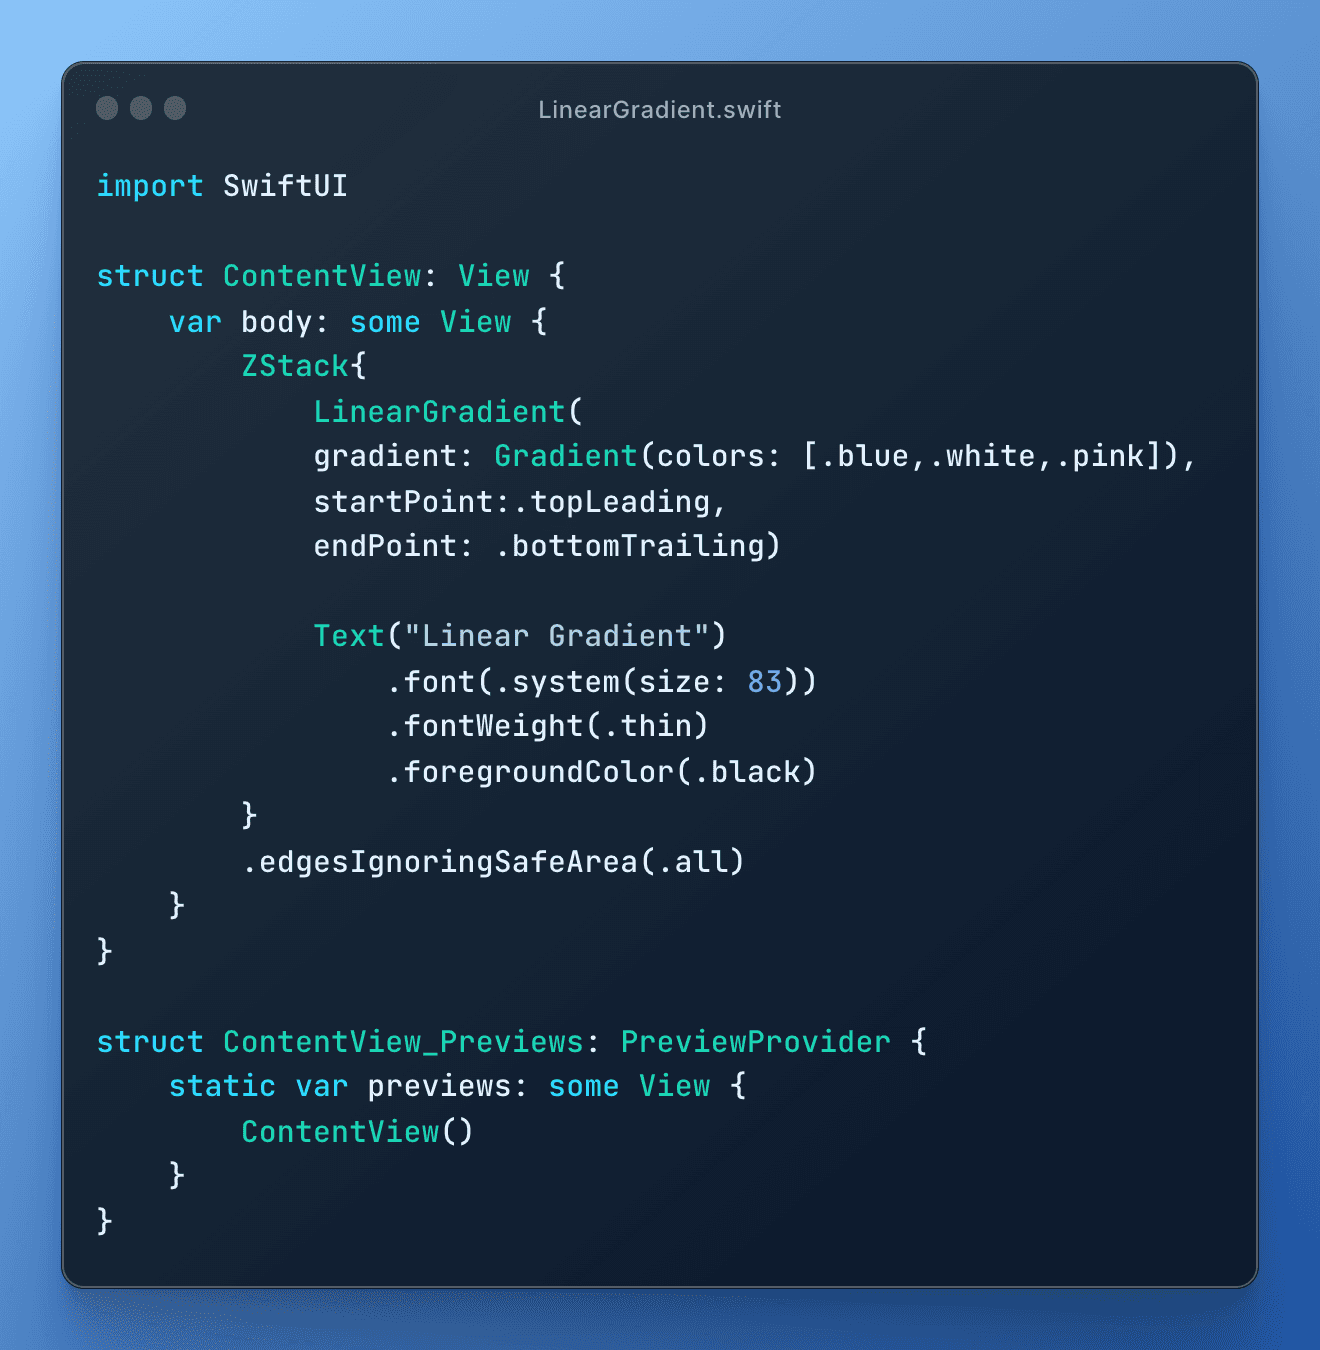
Linear Gradient
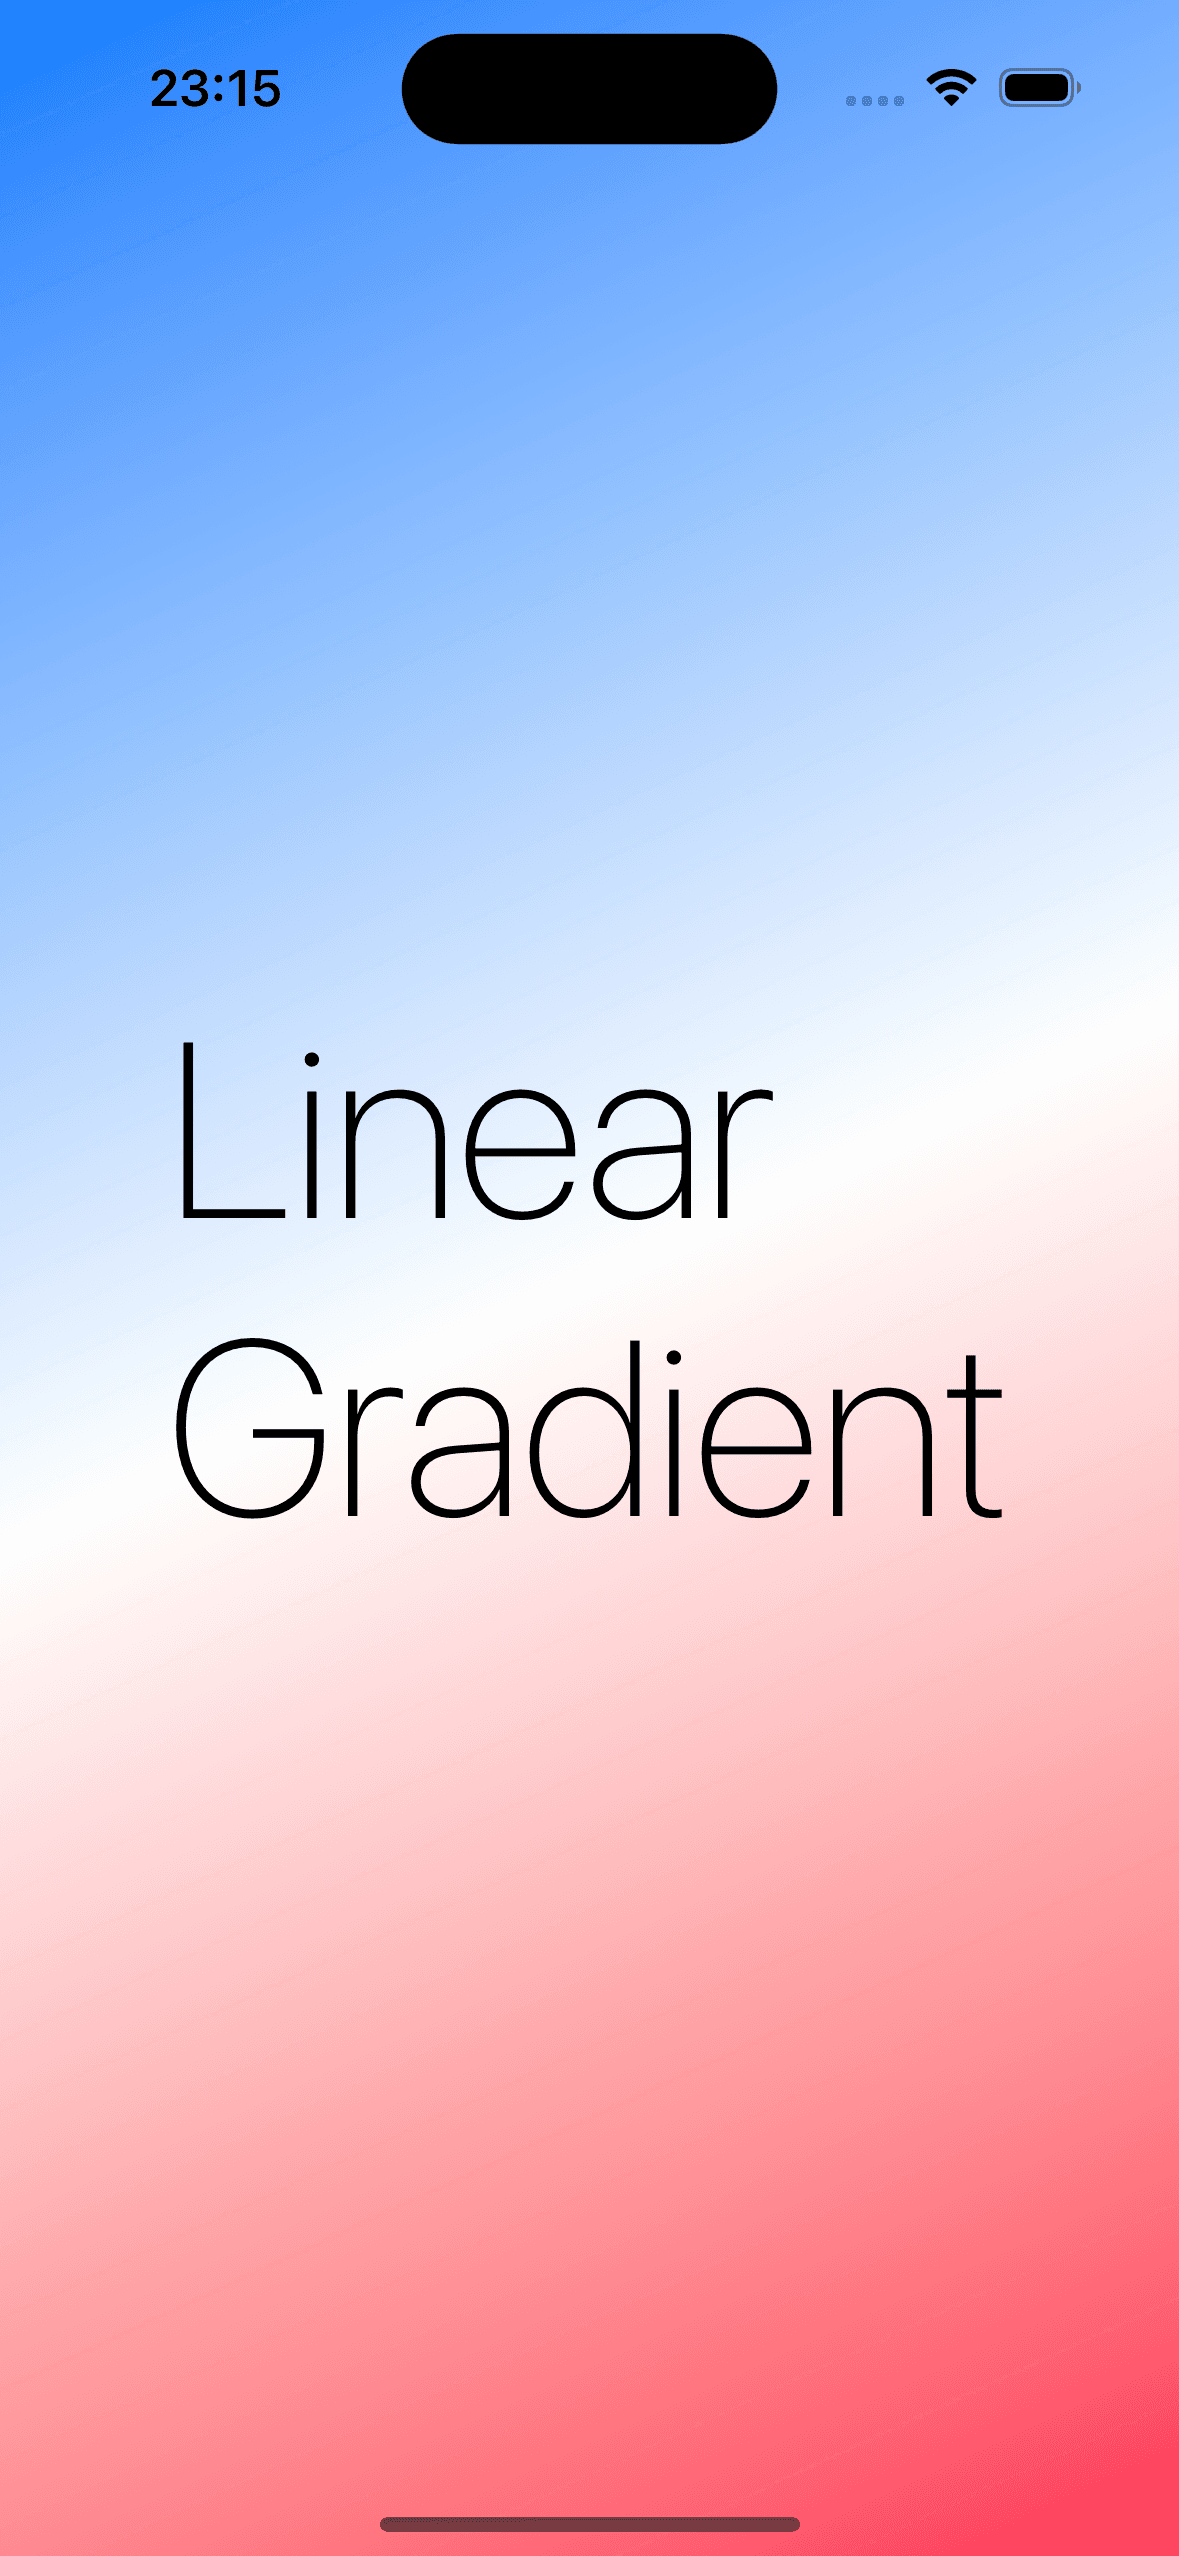
When working with linear gradients in SwiftUI, you can adjust the start and end points of the gradient to achieve your desired effect. By specifying the location of these points, you can control the direction and length of the gradient's color transition. This powerful feature allows you to create a wide range of effects, from subtle shading to bold and striking color contrasts. With SwiftUI's user-friendly syntax, adjusting the start and end points of a linear gradient is simple and straightforward.
Result:
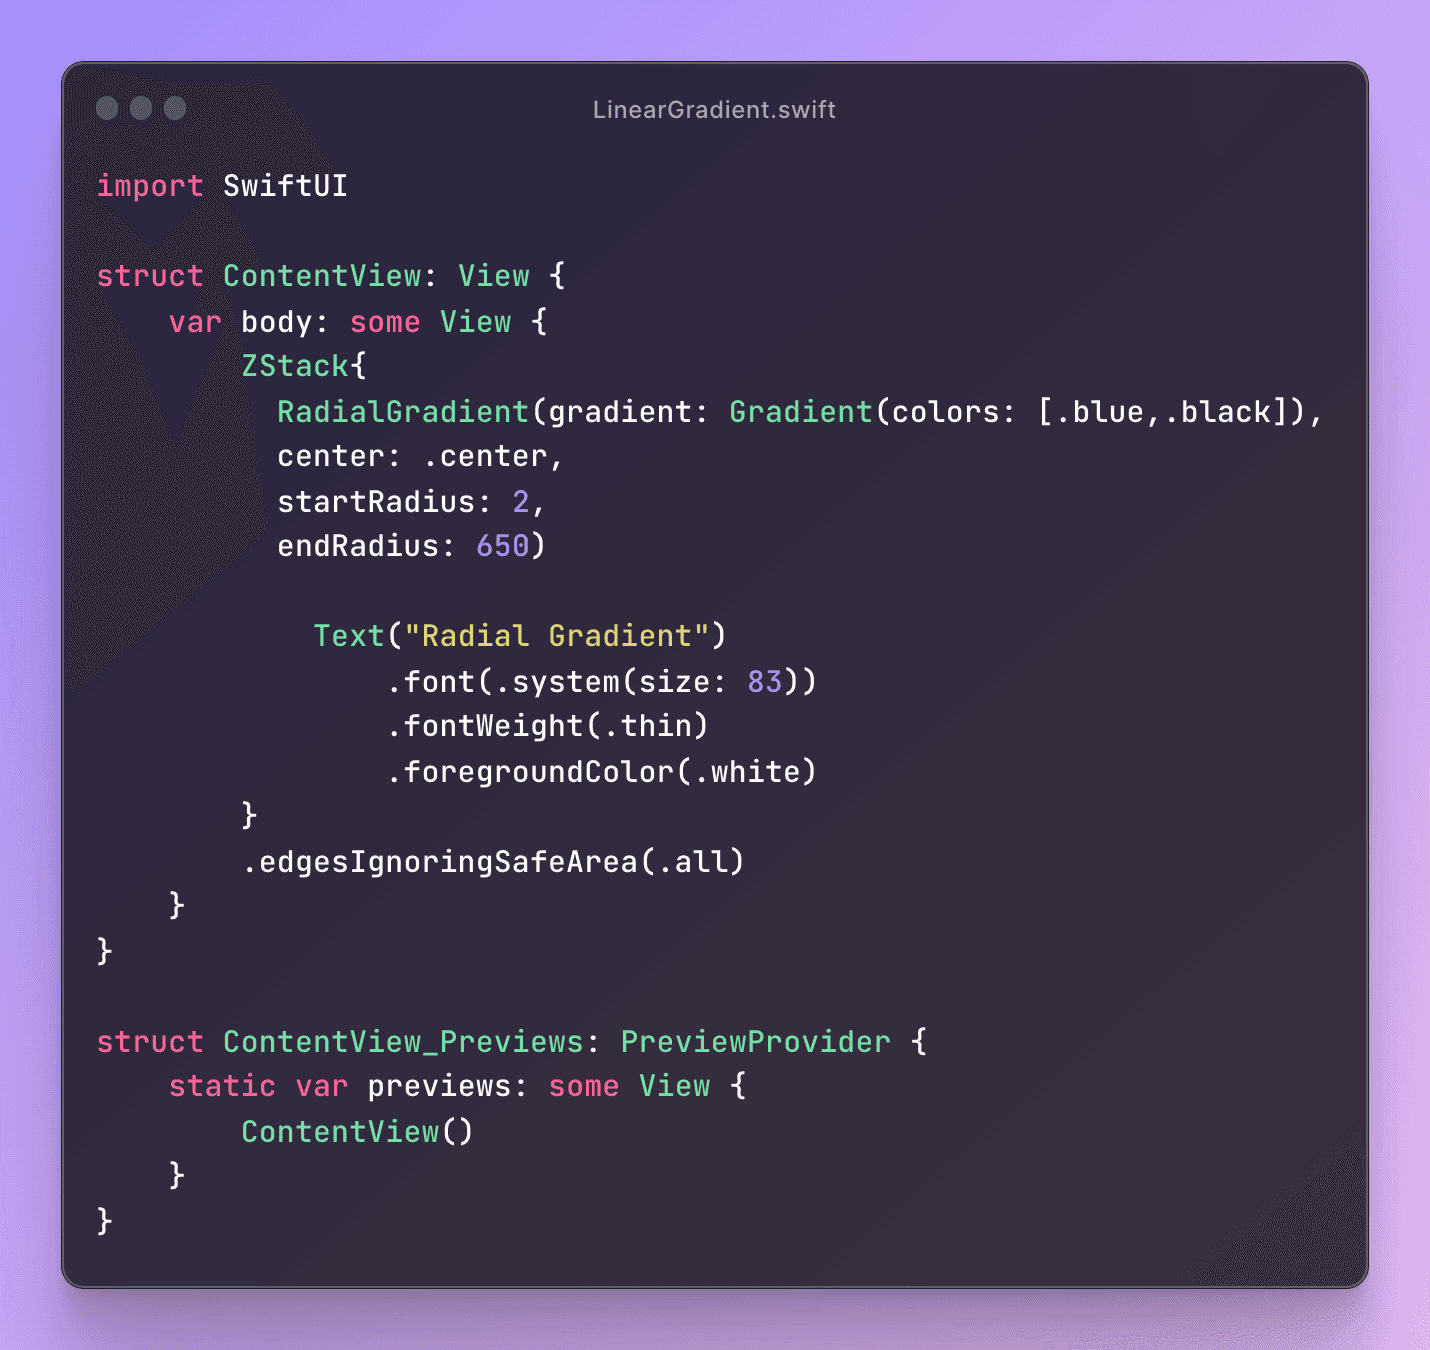
Radial Gradient
To create radial gradients in SwiftUI, you need to specify the start radius point, end radius point, and center point from where the gradient will originate. This allows you to create circular gradients that gradually transition from one color to another. By adjusting the start and end radius points, you can control the size and shape of the gradient. Similarly, by specifying the center point, you can control where the gradient begins and how it radiates outwards. With SwiftUI's easy-to-use syntax, creating stunning radial gradients is a breeze.
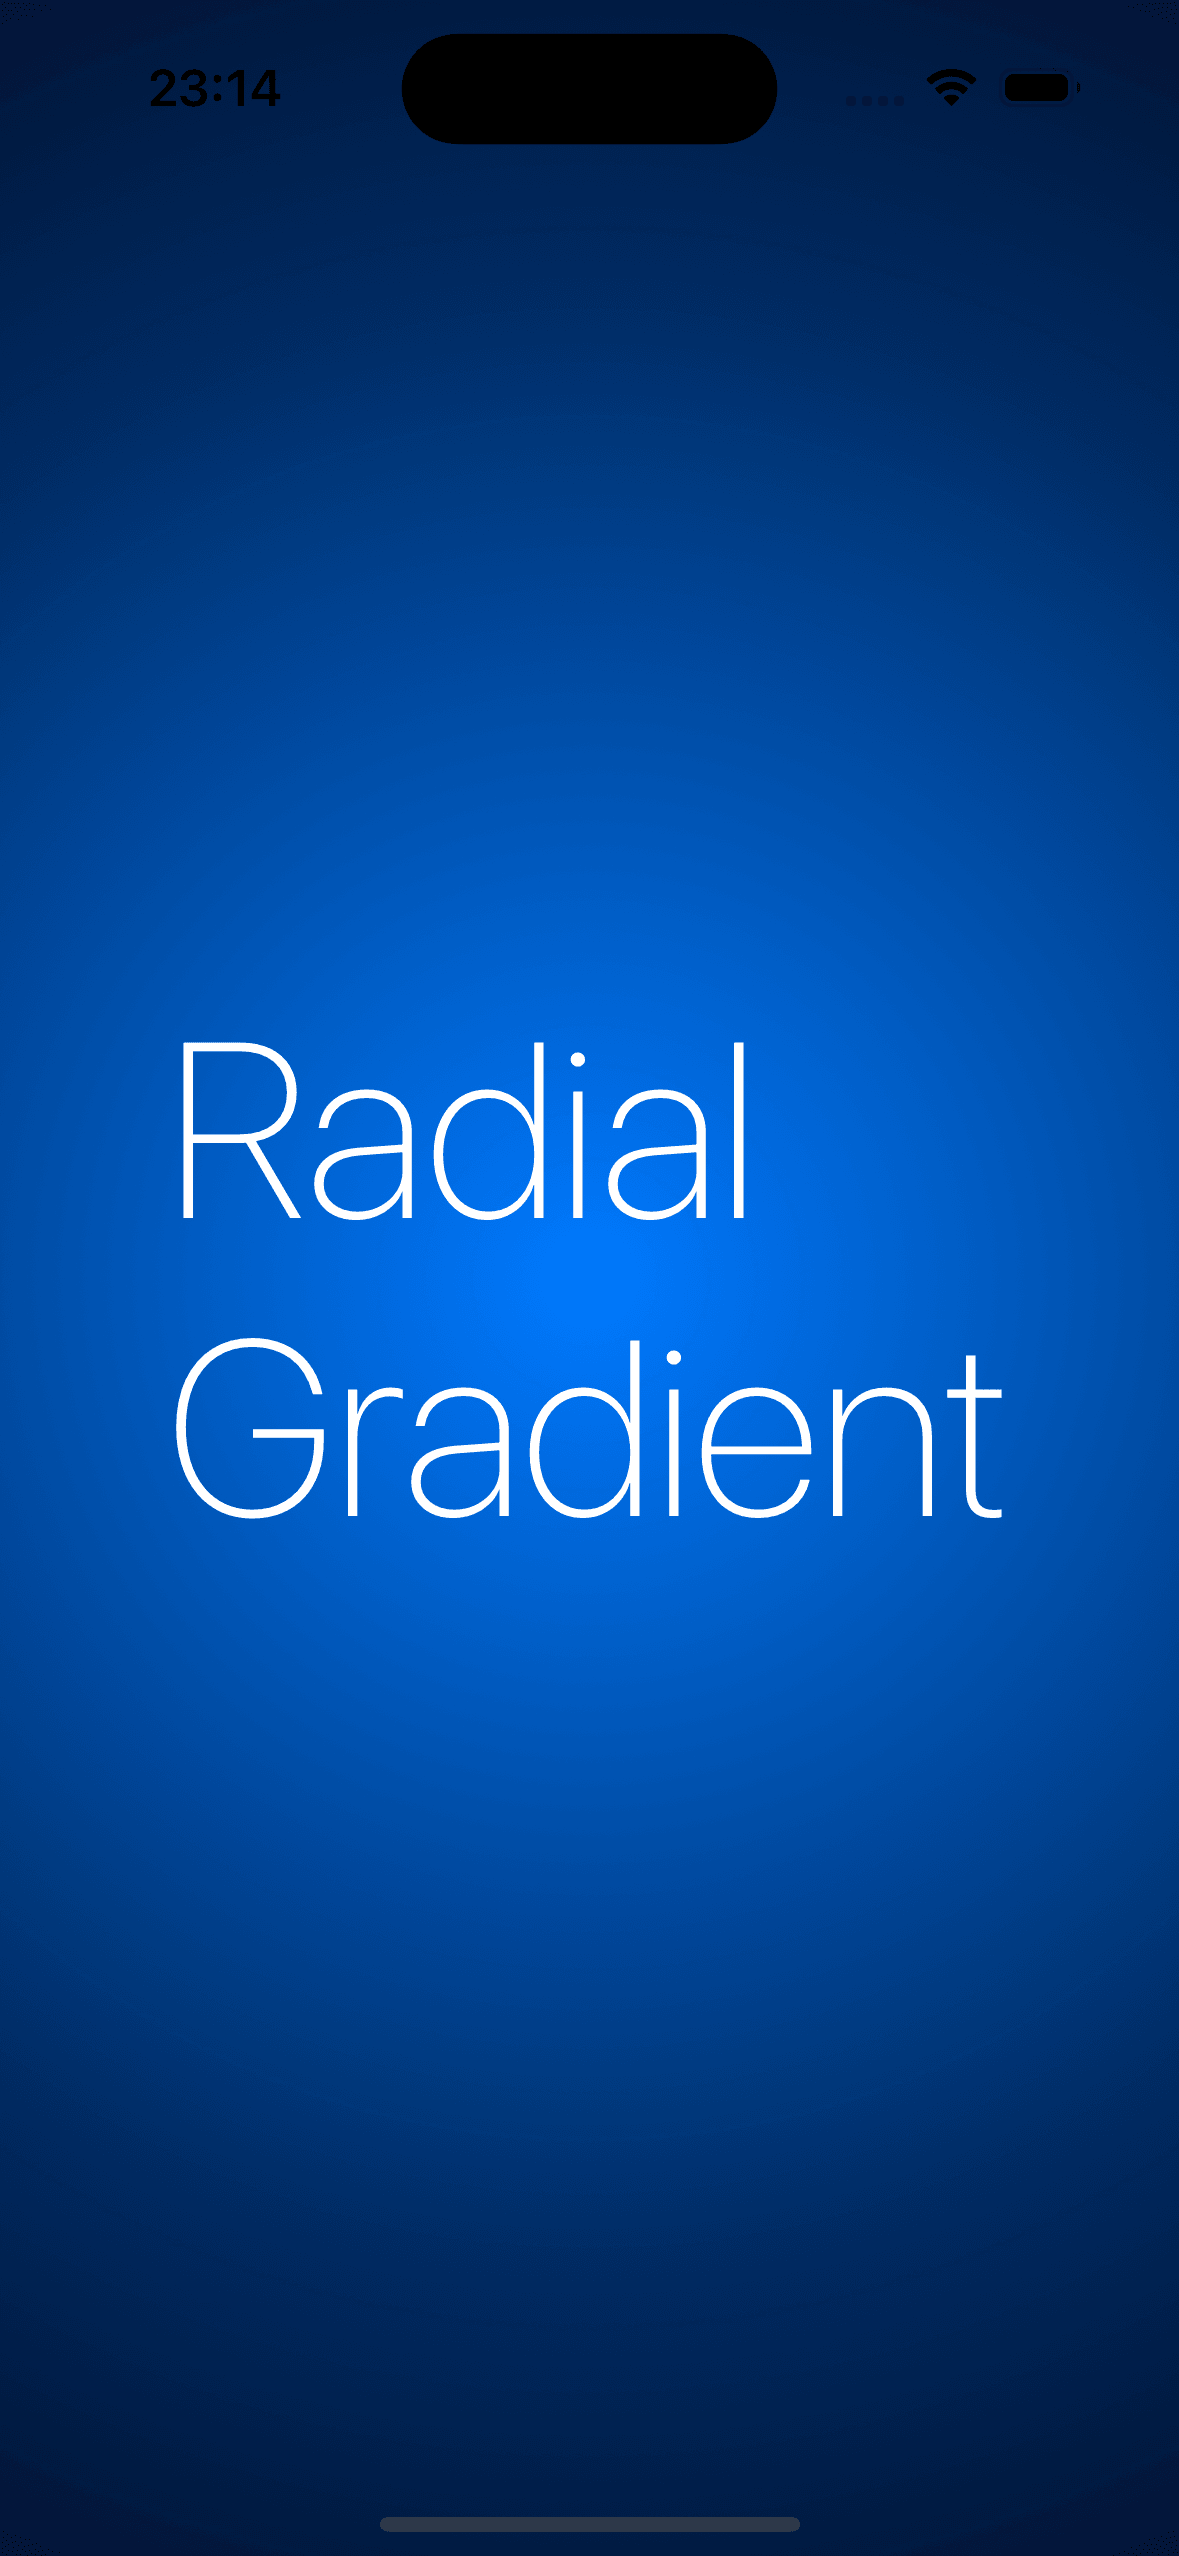
Result:
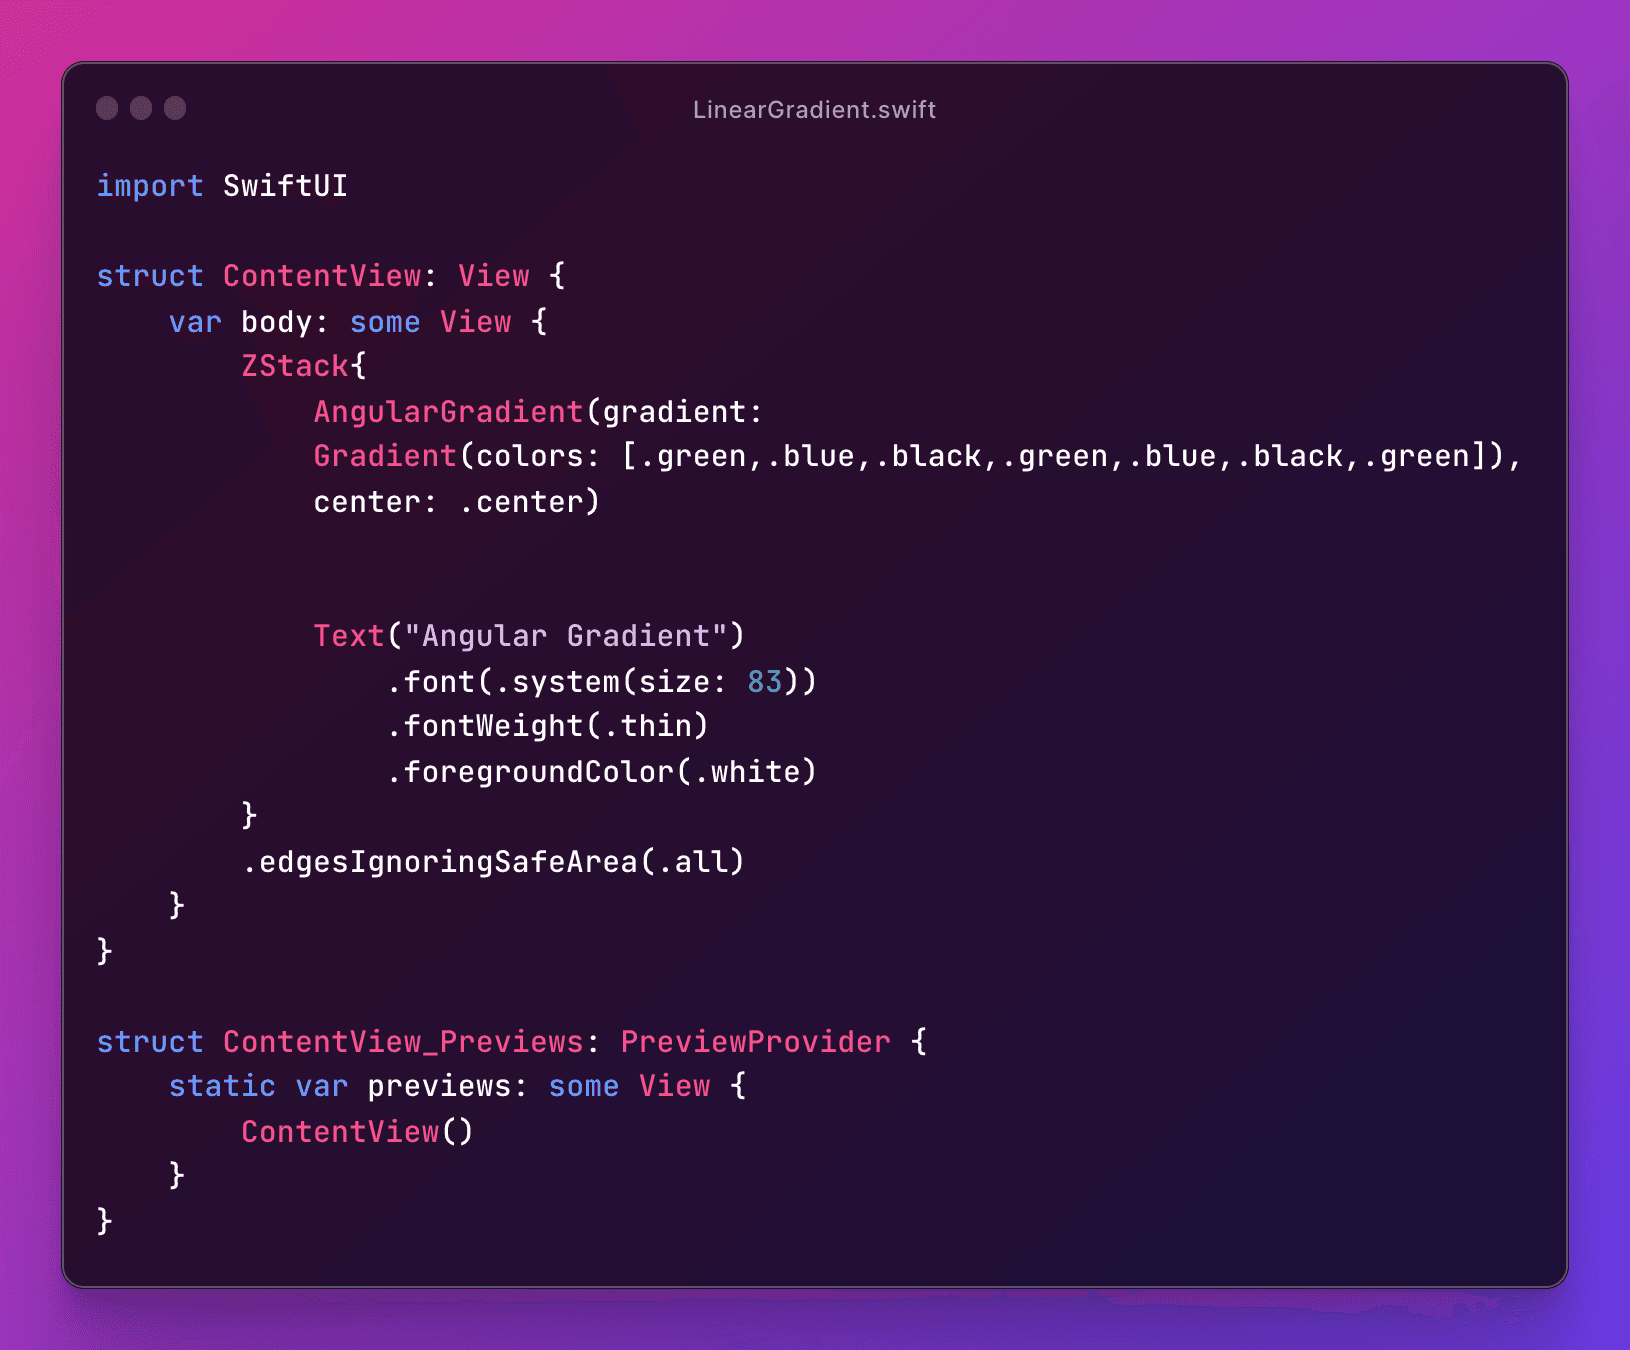
Angular Gradient
When working with angular gradients in SwiftUI, you only need to specify the center point from where the gradient will originate. This type of gradient creates a circular color transition that radiates outwards in a pie-like fashion, creating an eye-catching effect. By adjusting the center point, you can control the position of the gradient and the direction in which the colors transition. With SwiftUI's intuitive syntax, adding an angular gradient to your app's user interface is quick and straightforward.
Result:

As a freelance iOS app developer, I offer professional and reliable native app development services that cater to your unique business needs. With a focus on delivering high-quality results, I use the latest iOS development technologies and best practices to ensure that your app stands out in the competitive app market. Whether you're looking to create a new app from scratch or enhance an existing one, my expertise in iOS app development can help bring your vision to life.